We made an #eggmazing inspired egg decorator using littlebits and lego!
It was so much fun to decorate eggs with this spinning egg "lathe!" The process is in the moment, and you don't know exactly how it will look until the egg stops spinning - so the experience is similar to how it feels to make spin art or tie-die a shirt.
Everyone at our Easter party wanted in on the fun. :)
Here's how we did it:
Parts needed:
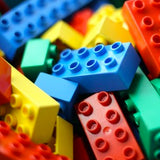 Legos
Legos
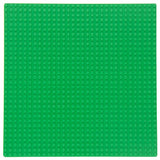 Lego Base
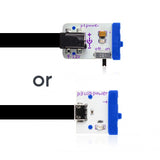
 LittleBits + Lego Converters
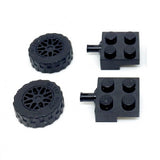 2x Lego Wheels & Axles
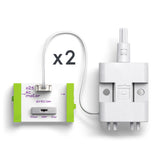 2x littleBits DC Motors
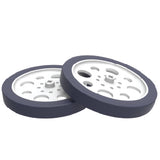 2x littleBits Wheels
 littleBits Power (either battery or usb)
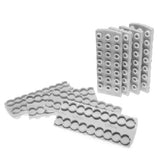
 And of course, Eggs! (We used plastic ones so we could keep our creations)
Step 1: Build 2 Towers:
(Channel your inner Lord of the Rings)
The first two towers will be for the driving wheels. Attach the littleBits wheels to the DC motors, then connect them to a tower of legos tall enough so that the wheels can move freely above the lego base. Attach the towers to the lego base so that the two wheels are facing each other and close to one another, about 1/4 inch apart.
Step 2: Build 2 Tall Towers
Take that, Lord of the Rings! We have twice as many towers.
Then, build two tall towers for the lego wheels. These wheels act as horizontal stabilizers, creating a cradle for the egg. It's important that these towers are taller so that the egg will keep "falling" into the driving wheels, creating a stable spin. Our wheels were a little less than an inch apart. And because it's Easter, we added daisy's - tis the season. :)

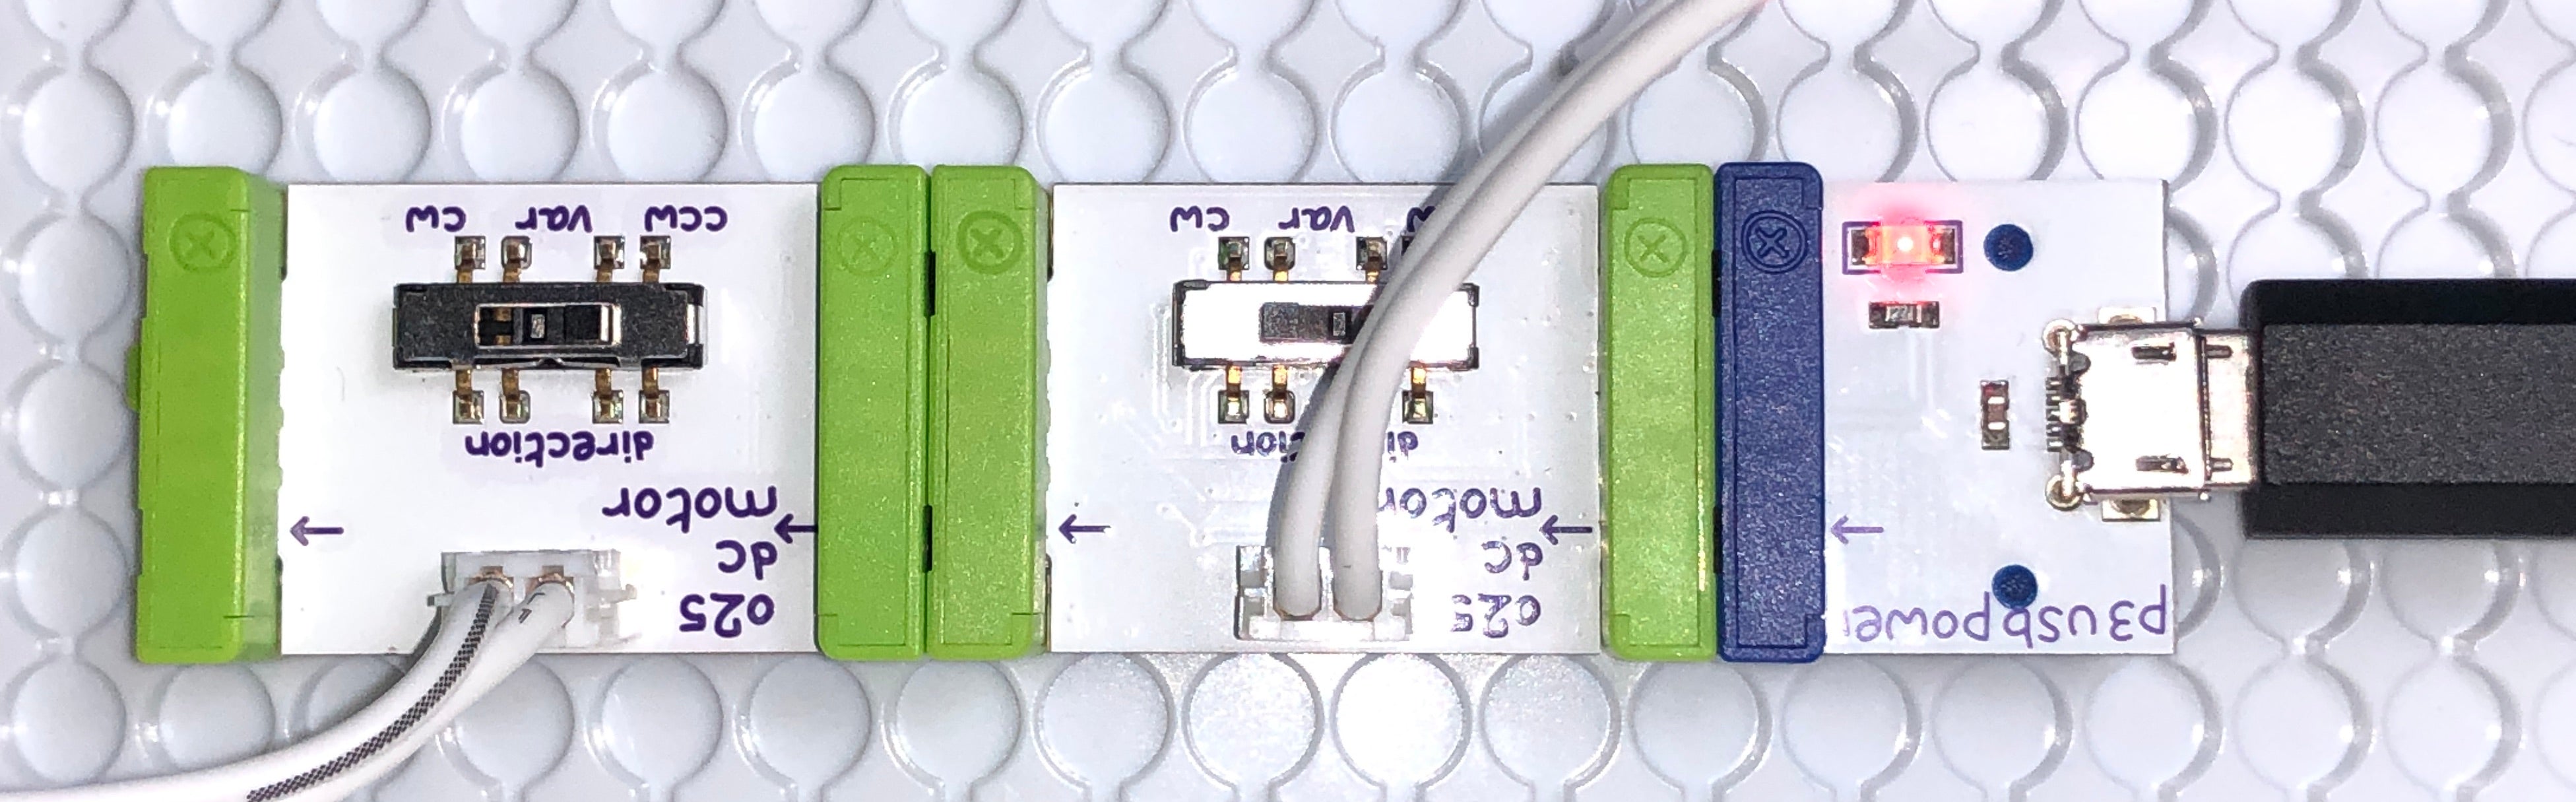
Step 3: Connect the circuit
Connect the two DC Motor littleBits to the power bit of your choice (usb or 9V battery powered). Adjust the switch on the 2 DC motors so that both wheels are spinning in the same direction, toward the egg.
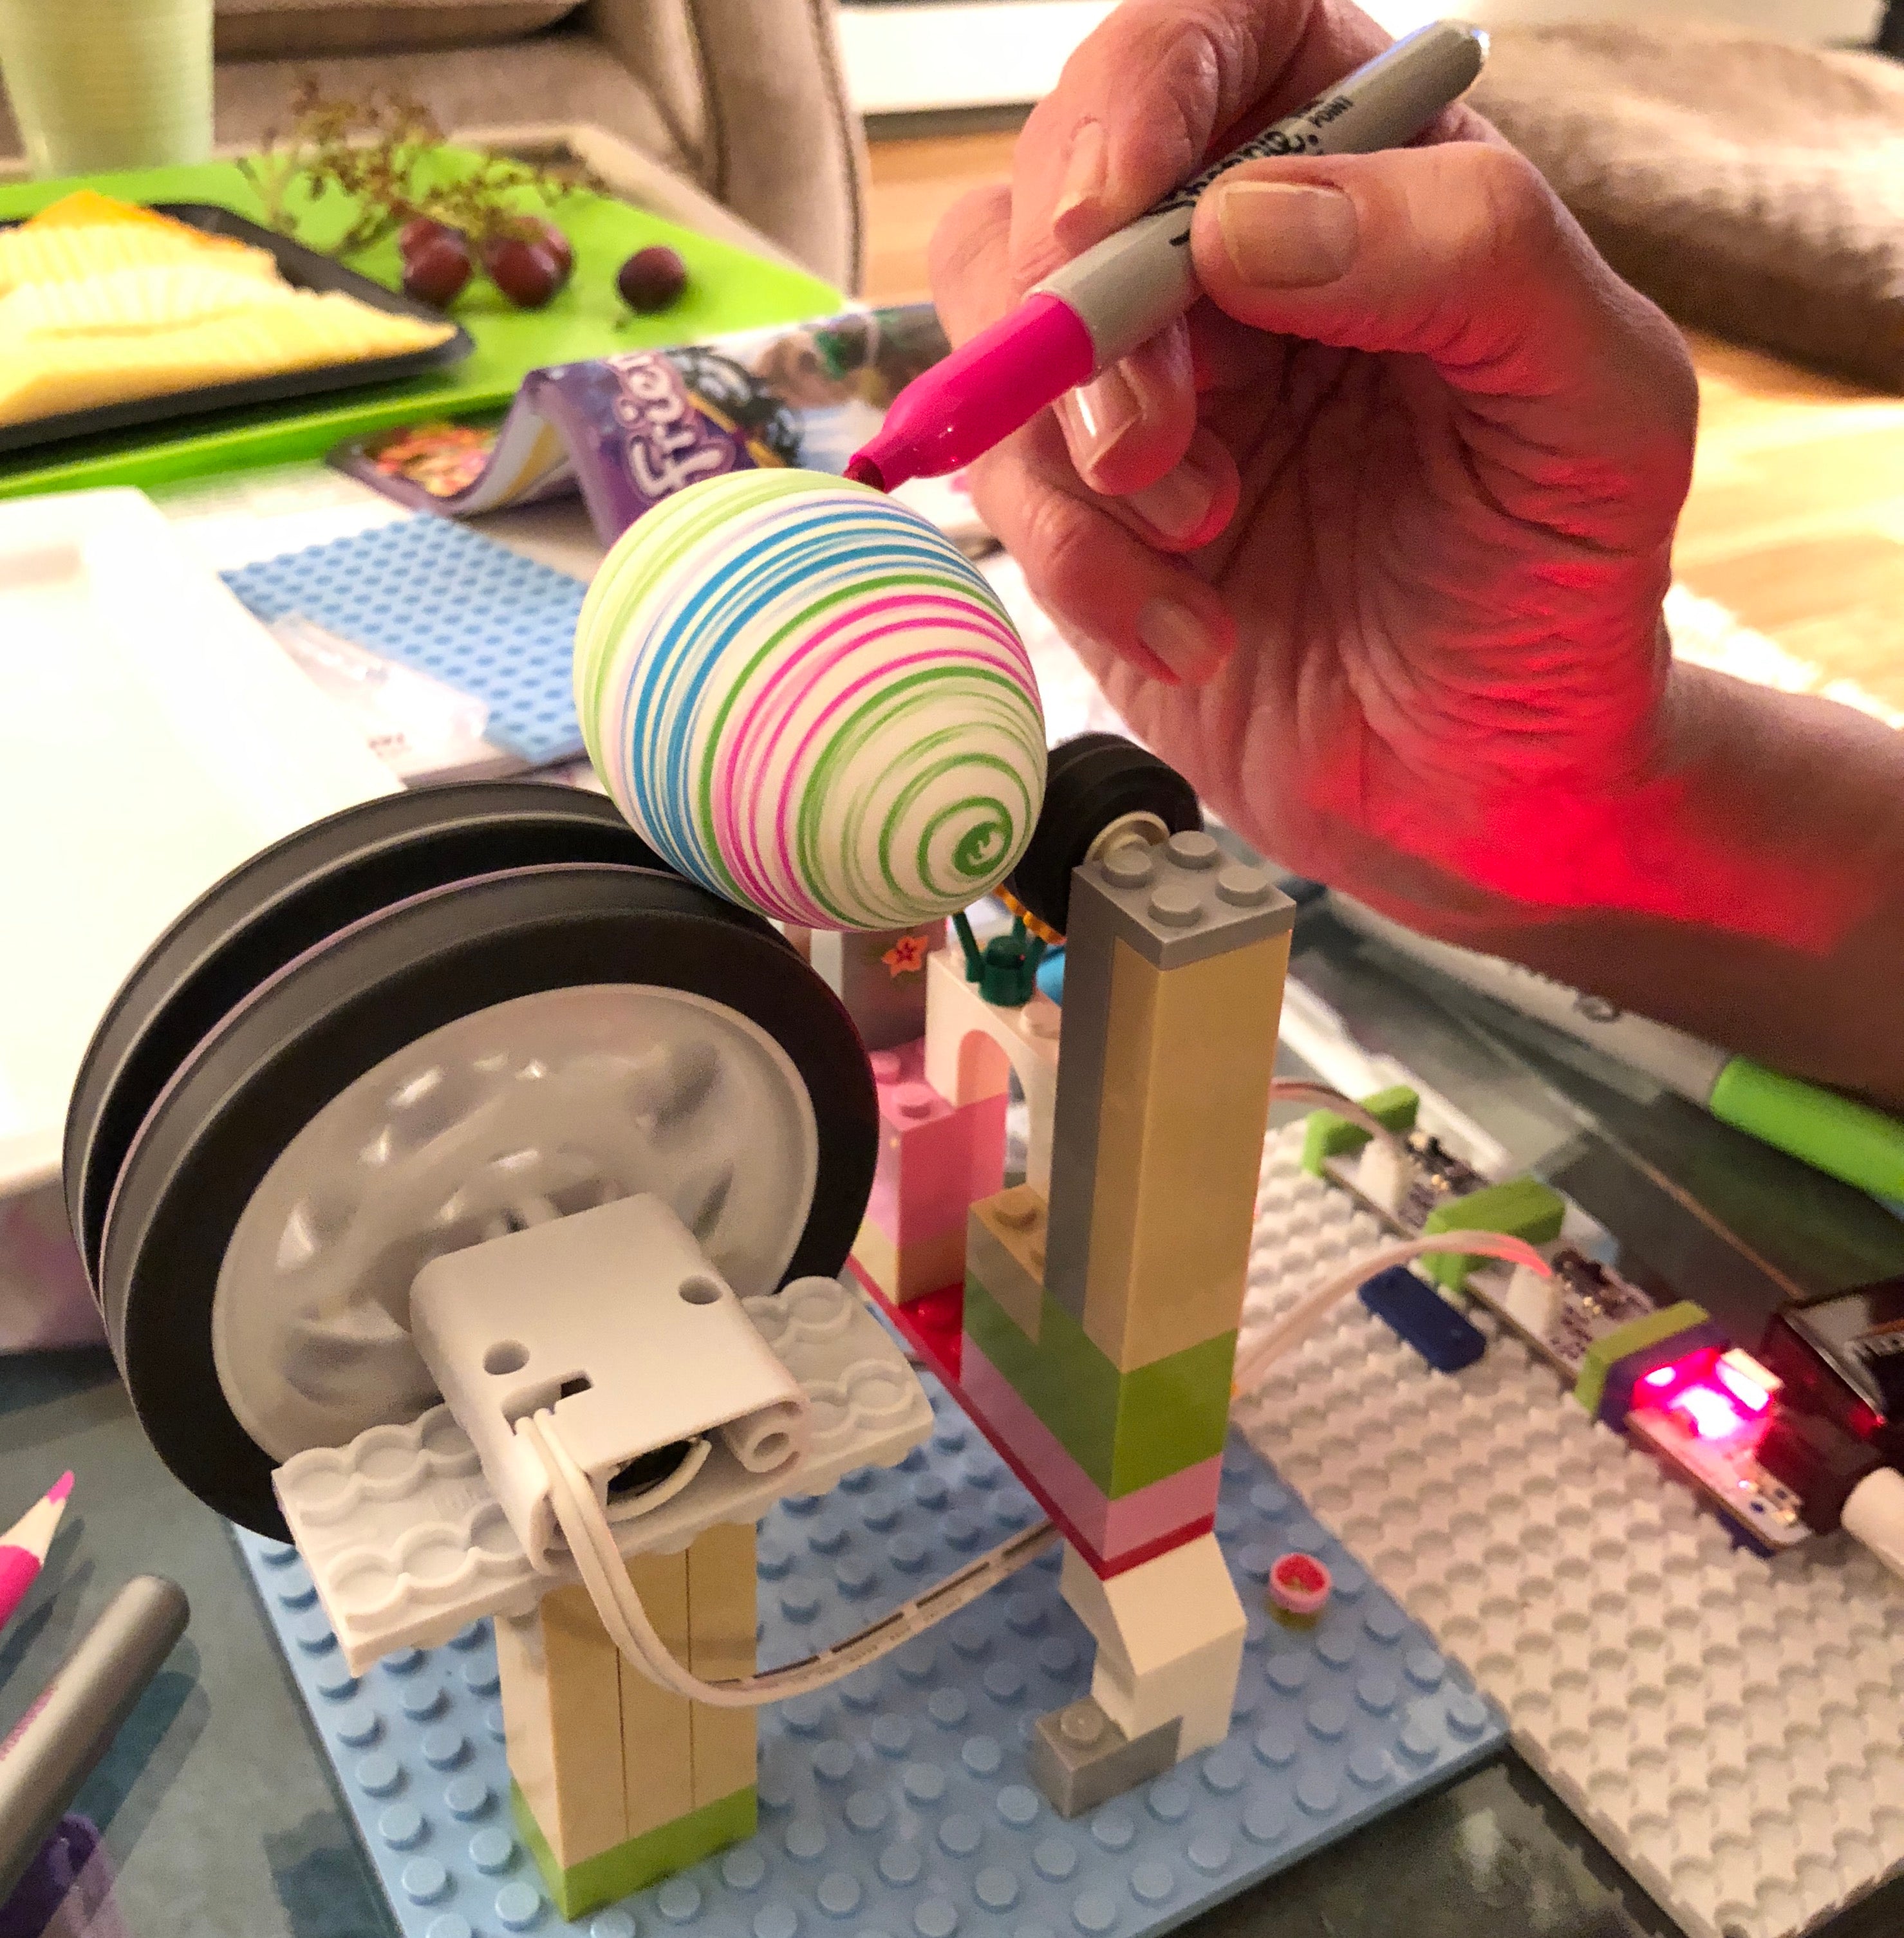
Step 4: Add your egg, and make it 'mazing!
We found that using sharpie markers worked great (we weren't intending to eat ours). Long sweeping motions across make neat spirals!
Experiment with different types of movements and color combinations! Try to predict what your egg will look like when it stops moving. Have fun!

Enjoy and Happy Easter!
<3
Natasha
If you make one, please link to yours in the comments below. Thanks!
If you need supplies for this project, please buy them through these links. This will help fund my next blog post-thank you!